Thursday, July 26, 2012

Rainbows and Apple Crumble!

Woke up today morning and saw this beautiful rainbow! N and I were both excited. N who was halfway through dressing for school, ran to wear his warm pants and grabbed his jacket. Then both of us went into the cold, 4 degrees Celsius temperature balcony and clicked this (it was a full end to end rainbow) - 


Beautiful! Ain't it?? 
Some things are just worth it!

Like having a freshly baked warm apple crumble with some cold vanilla ice cream. Gooey apples baked to perfection, crisp walnut-y rolled oats crust. Yumm! And icing on the cake, erm, crumble is that I made it myself... my first ever apple crumble. Recipe to follow soon... :) 


Happy Friday!!


Saturday, July 21, 2012

Recipe - Apple Cinnamon muffins

I had been itching and craving to bake. And bake I did - started with these oh-so-cute apple cinnamon muffins :) 


Found the recipe in a magazine borrowed from the library. Reproducing it here - 


For 12 regular-sized muffins:
- 2 medium apples (about 250 gms each) - you can use any apples you have on hand but you'll get the best flavour when you choose a 'tangy' variety such as Granny Smith or Braeburn. [ I used whatever was available at home] 
- 1 cup plain (unsweetened) yoghurt
- 1/4 cup canola oil
- 1 large egg
- 1 cup sugar
- 2 cups self-raising floor
- 1/2 cup chopped walnuts [Didn't have these so skipped them, but would be nice for some texture]
- 2 tsp cinnamon
- 1/2 tsp salt


I used unbleached self raising flour - unbleached means well: not bleached flour.  Bleaching is done in order to whiten flour and to to give it more gluten forming properties. Organic peroxides are used as beaching agents for flour.
For the sugar I used brown sugar. 
And I used sea salt flakes for the salt part.


1. Turn the oven to 190 C (or 180 C if using fan-bake)
2. Grate the unpeeled apples (discarding the cores). Place the grated apple, yoghurt, oil and egg in a large bowl and mix well. 
3. Measure all the remaining ingredients into another bowl and stir well with a fork. Tip the dry mixture into the wet ingredients, and gently fold together until the flour is just moistened. (Avoid over-mixing as this will toughen the finished muffins. It doesn't matter if the mixture looks a little marbled, this looks quite good in the finished muffins. 


4. Spray 12 regular sized muffin pans with non-stick spray, then divide the mixture evenly between them. Bake for 12 - 15 minutes or until the muffins are golden brown on top and spring back when pressed lightly in their centres. 


[I used paper muffin cups instead of directly putting the batter into the muffin tray. Easier to peel off and eat the muffins and to clean the tray! :) ]


5. Leave muffins to cool in their pans for 2-3 minutes, then tip out and cool on a rack. Place cool muffins in a plastic bag, freezing any you don't expect to eat within 48 hours. 


I halved the recipe because I wanted to make 12 mini muffins and not the regular sized ones. My cooking theory has become "small is beautiful". 
But I could have, actually, should have added just a bit more flour - more than the halved version. The muffins were a bit more moist than I would have liked them to be. 


Friday, July 06, 2012

Some more lunch and dinner menus

My cooking has been on full flow ever since we moved to NZ and I am loving it! (so far).  I have been reading up on some great food blogs and trying out new recipes. 


Looking forward to many more food blogs and recipes and cooking some healthy and nutritious food for my family!!


Some notable menus/new recipes that I tried in the last few weeks are -


Fettuccine with Tomato and Basil from Archana's Kitchen - See detailed post here - Awesome recipe!! 


# Pizza with home made tomato basil sauce - The sauce had fresh tomatoes, a lil tomato paste, basil and garlic. The toppings were green bell peppers, onions, broccoli and shredded cheese. My 3 and 1/2 year old helped in topping the uncooked pizzas with the veggies and he loved doing that! Click here to see pictures of our pizzas :) 


# Pasta with basil pesto sauce - Basil pesto is my all time favorite (almost there with peanut butter). And I can have it for breakfast, lunch and dinner!! So it was a simple pasta boiled separately; some olive oil, garlic, broccoli, carrots and peas sauteed for a bit, added to the basil pesto sauce (store bought) and then mixed with the pasta. The kid and the hubby enjoyed it too!


Shaved Brussels Sprouts Salad from in pursuit of more - Loved it! I have never had Brussels sprouts in any from before this and this was a totally healthy and yummy thing to start with. 


The tastiest Guacamole from Fork and Beans. Might I add "simplest sounding recipe" too!


# Beetroot rice from Archana's Kitchen with coriander raita - An unexpected, colourful, tasty meal! 


Grilled chilly pepper toast from Archana's Kitchen - mouthwatering, comfort snack and super quick to make. 


# Minestrone soup with pasta - used it as a baked casserole the next day for lunch!


I had picked up a big bundle of spinach from the farmer's market and used it 3 ways over the week - 
1) Spinach rice from Archana's Kitchen - I served it for dinner with chana daal (gram pulses/lentils) spiced with a cumin and garam masala flavour and a salad of cucumber and tomatoes with a dash of salt and fresh black pepper. 


2) Potato spinach vegetable from Archana's Kitchen. 


3) Spinach and Sweet potato (kumara) patties - A very nice way to incorporate some sweet potato and spinach into the diet. The kid lapped them up and so did the hubby. 


*******************************************************************************


And then there are some recipes from other blogs that I have to, have to, try. Some of them are - 


Garden Pasta Salad from Fork and Beans.
Potato thyme rolls from Archana's Kitchen. 
Bread baskets filled with mushroom and cheese from Archana's Kitchen.
Roasted red pepper and walnut pesto from Girlichef. 
Carrot cake from The Faux Martha. 
Zesty Mexican Quinoa Salad from The Faux Martha.
No-Rise Pizza Crust from The Faux Martha.
Thai Stir Fry from The Faux Martha - I love Thai food!!
Spinach Pesto from The Faux Martha - I love pestos too!!
Apple Crisp from The Faux Martha.
Strawberry Shortcake from The Faux Martha.
Leo's Healthy Scrambled Tofu from Zen Habits Offloaded.
Rice Paper Veggie rolls from in pursuit of more


Oh and I am itching to do some baking! Need to make some apple pies, muffins, cupcakes and cakes!! Just can't wait to start doing that soon. 


Happy Weekend people!! 


Sunday, July 01, 2012

Ricotta cheese and Condensed milk sweet

A friend had made a sweet for Diwali a few years ago when we were in the US. It was one of those things that you want to try as soon as possible! I made it and have been using it as a fail-safe sweet/dessert ever since.
It is simple and quick - just 2 ingredients and 12 minutes to make - couldn't get easier.
I made it recently for the husband's 34th birthday!!

Ingredients -
1 can sweetened condensed milk
1 can ricotta cheese
They have to be used in a 1:1 ratio so use same quantity of both ingredients! I used 250 gms of each.


In a bowl mix the ricotta cheese and condensed milk with a spoon till they look like a homogeneous mixture. The mixture will be pretty liquid at this stage, something like this -


Microwave the mixture for about 10 to 12 minutes in increments of 2 minutes. So microwave at full power for 2 minutes, take it out, mix with a spoon to bring things together, then repeat this for about 5 to 6 times till you see a grainy mix where the ricotta has sort of absorbed the condensed milk. Something like the picture below. There is no right or wrong consistency, do it till you just see the grainy texture and even if you give it an extra 2 or 4 minutes it will not harm the final product - learnt from experience ;) 


Put this mixture into the fridge for setting/firming up (a minimum of 45 mins to anything you want, even overnight is fine). The mixture is ready to eat immediately after cooking and cooling down a bit, but if you want to cut out a desired shape then some firming up is needed. 
You can choose bowls/cups/ramekins of any size and shape. Put the mixture in and lightly press with the underside of a spoon or spatula to level the surface. 
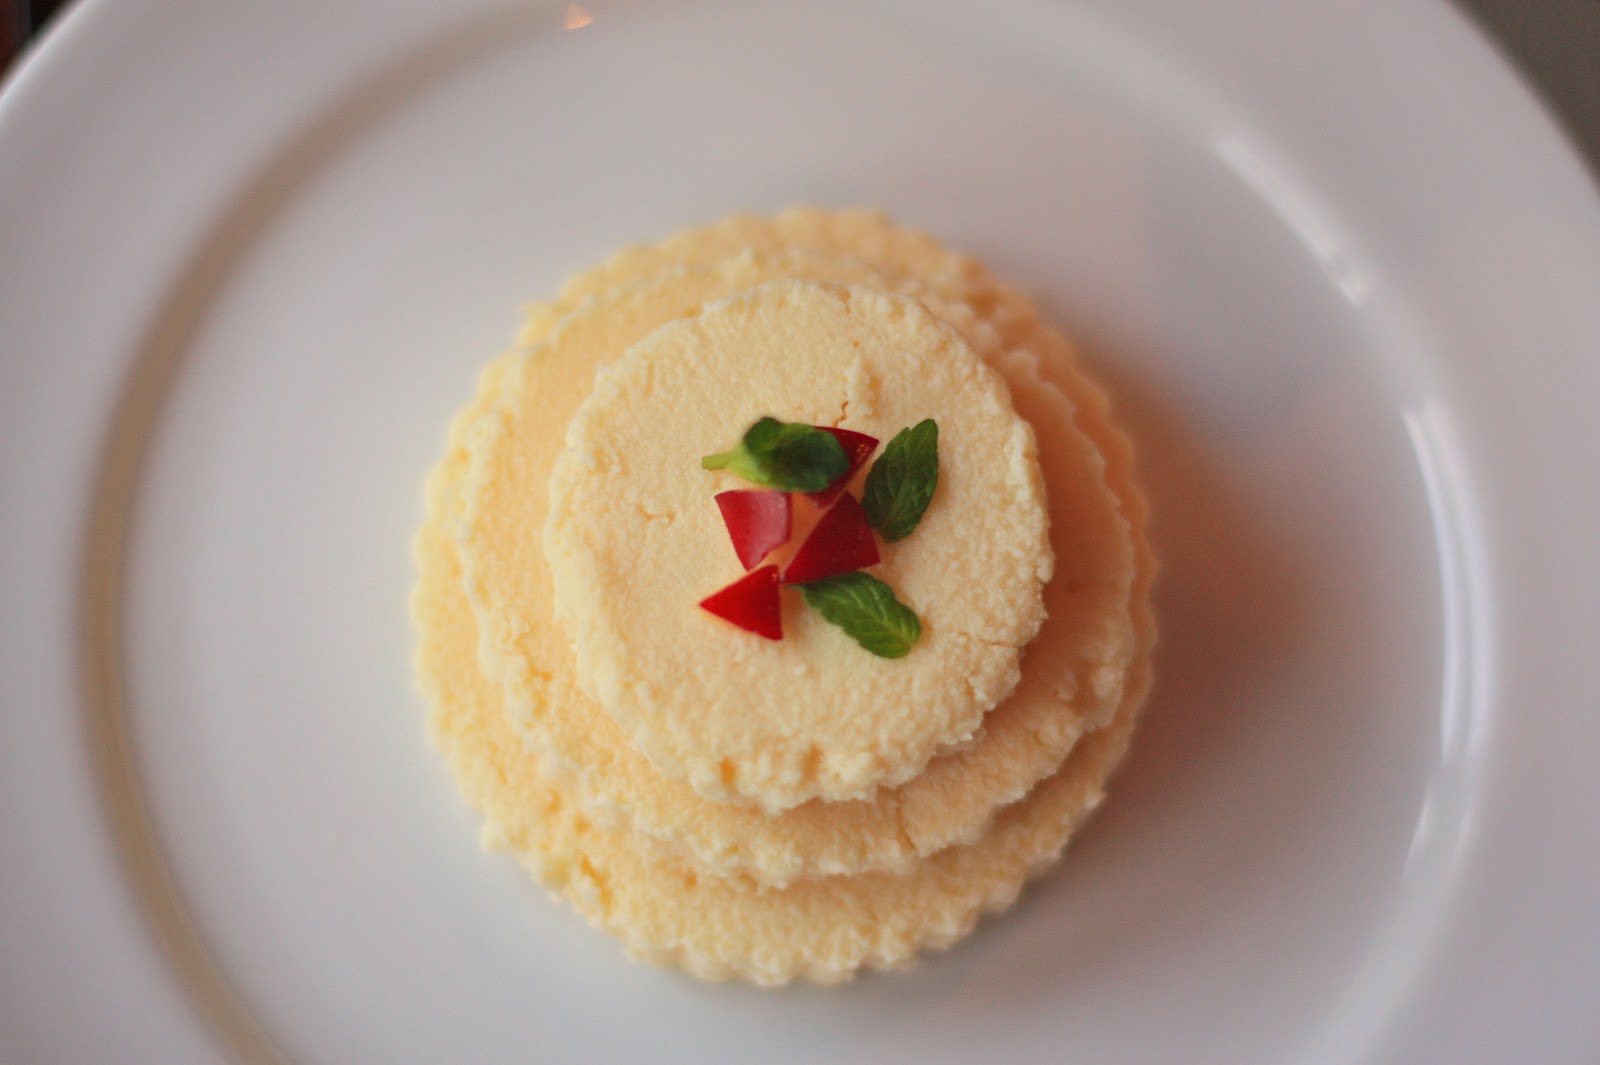
I used round bowls to set them in and then I cut out 3 circles of different sizes using cookie cutters, flipped them over and stacked them like a cake!! Be gentle with the pieces, they will be fragile to handle and crumbly. You can use any other shape cutters or lids to cut out the shapes. Can be set even in mini muffin cups, those look cute! 


Extras - You could add strawberries, blueberries or pomegranate seeds and some mint leaves for the garnish. 
Some toasted almonds or walnuts would make a lovely and crisp addition. 
A little cardamom powder at the 1st step of mixing ricotta and condensed milk would also be nice. 
But don't make too much of a fuss about all these, coz the basic mix itself is such a yummy treat!! 

Enjoy!!


LinkWithin

Related Posts Plugin for WordPress, Blogger...